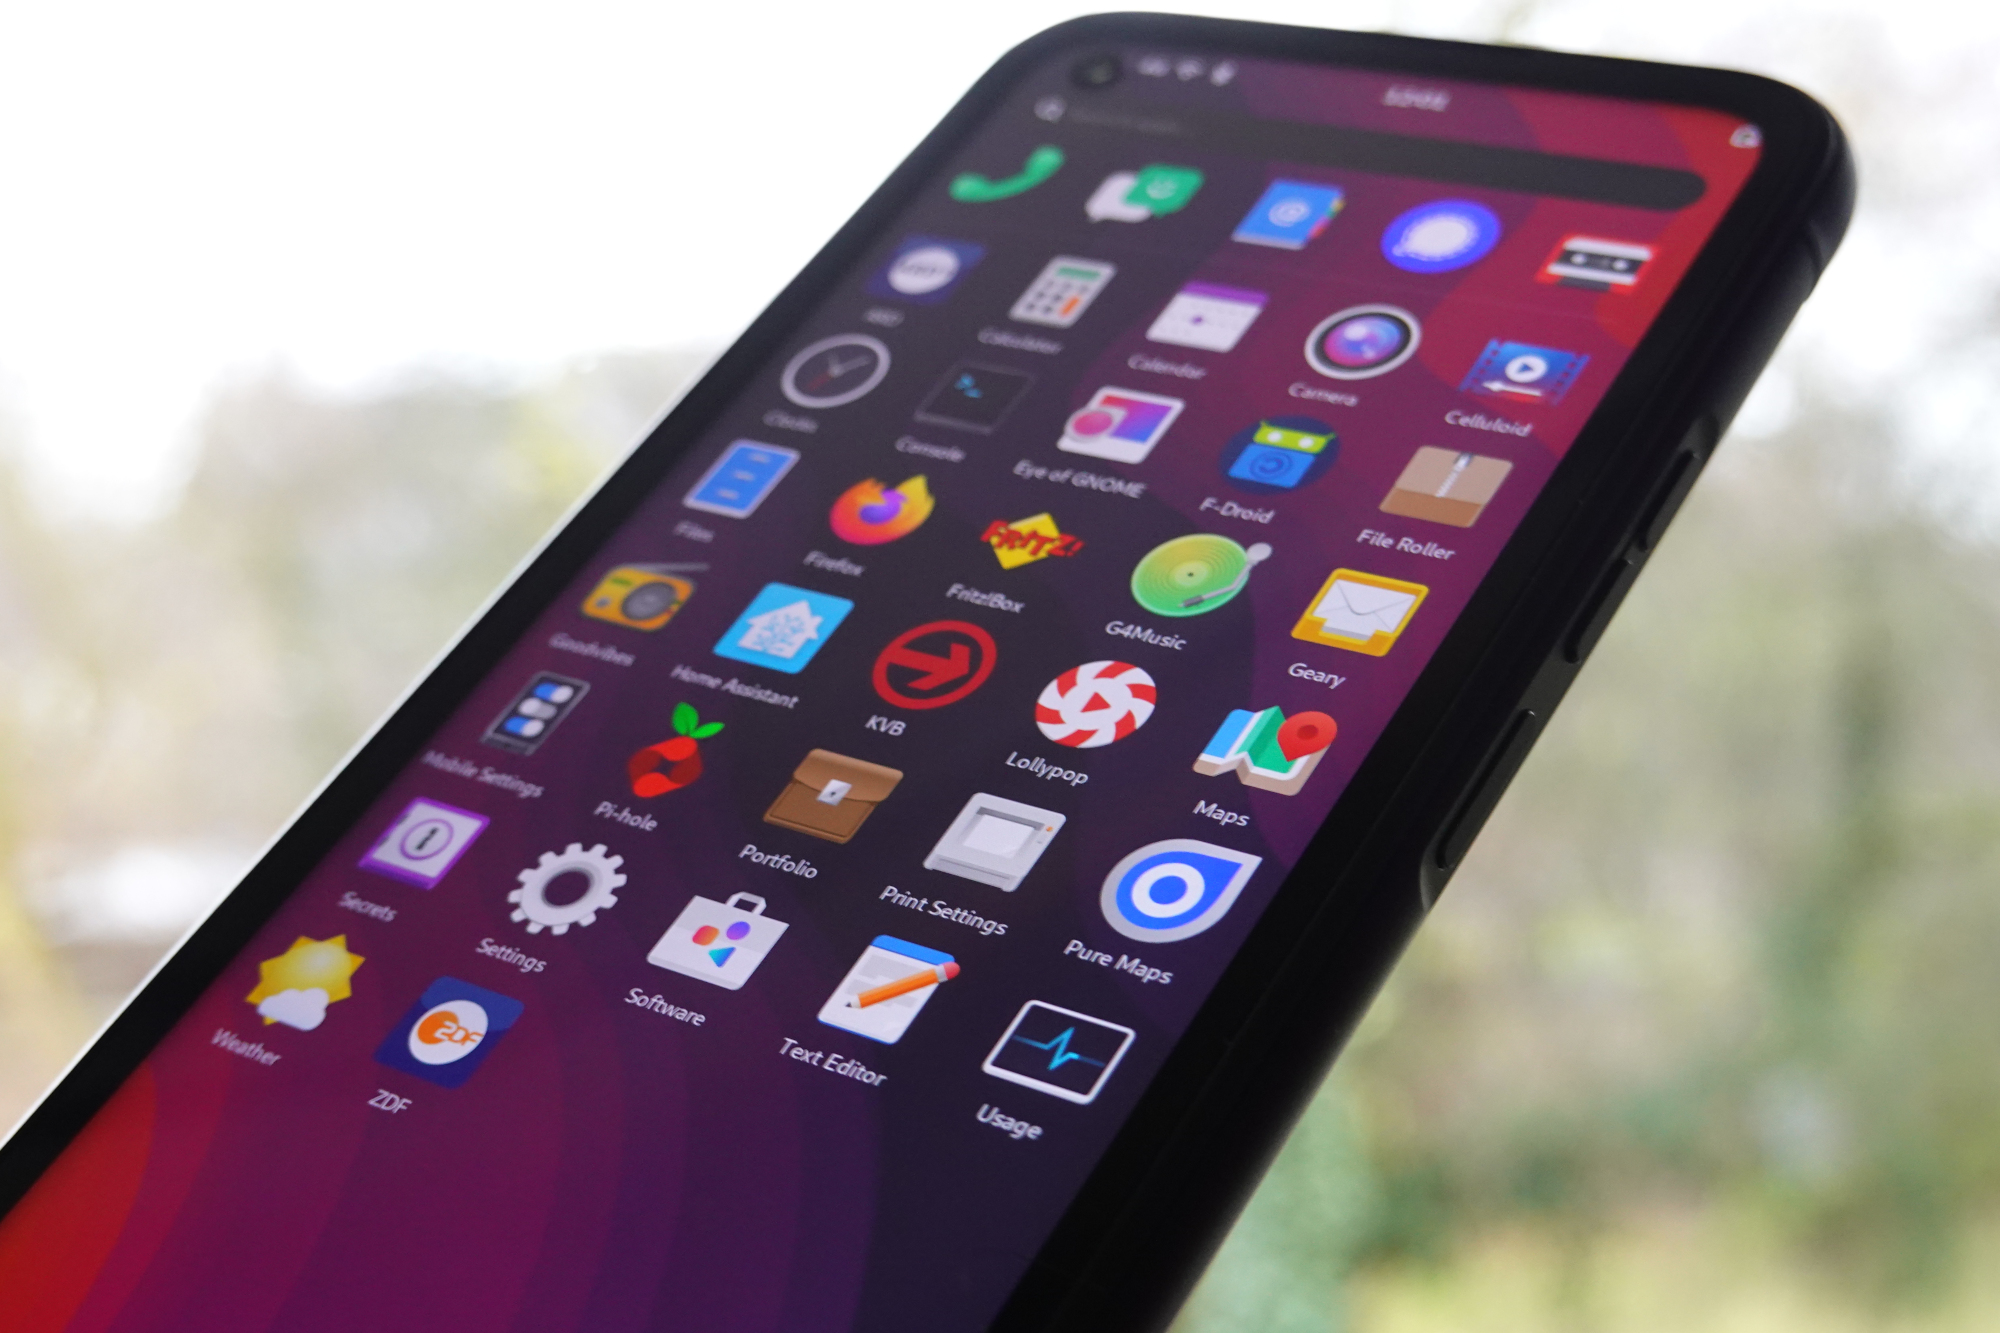
Furiphone FLX1 - First steps

Here I would like to show you a few tips and options on how you can set up and expand your Furiphone. There aren’t many steps involved, but if you don’t do them, you’ll have more options. You should be careful with the settings.
Basically, the smartphone should be further hardened and for this I can recommend the tool Lynis. Lynis is normally used on servers and clients to further hardening these systems through the suggestions. However, with a mobile phone it is still inexperienced and you should know what to do.
Basics
Updaten
After the first start, you should install the updates. This should not be done via dist-upgrade, but by repeating the following command combination several times:
sudo apt update && sudo apt upgrade
and restart the phone#
Flatpak
With Flatpak you can install some applications (standalone) that are not available at all or only in an outdated version on your own Linux installation.
sudo flatpak remote-add –if-not-exists flathub https://flathub.org/repo/flathub.flatpakrepo
Basis Packages
I always install a few basic packages, but of course you may use different ones.
sudo apt install vim rsync ssh git curl net-tools
SSH config
To be able to access the smartphone remotely, I first configure the SSH service.
First, generate a new host key.
sudo ssh-keygen -b 384 -f /etc/ssh/ssh_host_ed25519_key -t ed25519 -N ""
Cleanup old unsecure keys:
sudo rm /etc/ssh/ssh_host_rsa_key* /etc/ssh/ssh_host_ecdsa_key* -f
Insert your public part of your SSH key:
mkdir ~/.ssh/
vim ~/.ssh/authorized_keys
Set required permissions on the file and directory:
chmod 600 ~/.ssh/authorized_keys
chmod 700 ~/.ssh
Optimize and harden the SSH configuration (after that, remote login is only allowed with ssh key!). This step is not needed, but very useful:
sudo vim /etc/ssh/sshd_config.d/default.conf
Port 22
Protocol 2
ListenAddress 0.0.0.0
HostKey /etc/ssh/ssh_host_ed25519_key

Ciphers aes256-ctr,aes192-ctr
KexAlgorithms diffie-hellman-group18-sha512,curve25519-sha256@libssh.org,diffie-hellman-group16-sha512
MACs hmac-sha2-512-etm@openssh.com

SyslogFacility AUTHPRIV
LogLevel VERBOSE

LoginGraceTime 120
PermitRootLogin no
StrictModes yes
ChallengeResponseAuthentication no
AuthorizedKeysFile .ssh/authorized_keys
HostbasedAuthentication no

UsePAM yes

ClientAliveCountMax 2
Compression no
MaxAuthTries 2
MaxSessions 2
IgnoreRhosts yes
UseDNS no
PermitEmptyPasswords no
PubkeyAuthentication yes
PasswordAuthentication no
PrintLastLog yes
TCPKeepAlive no
AllowTcpForwarding no
GatewayPorts no
PrintMotd yes
PermitTunnel no
AllowStreamLocalForwarding no
AllowAgentForwarding no

# Allow to access via sftp client - e.g. file browser
Subsystem	sftp	/usr/lib/openssh/sftp-server
Now, restart the SSH service:
sudo systemctl restart sshd
Screen scaling
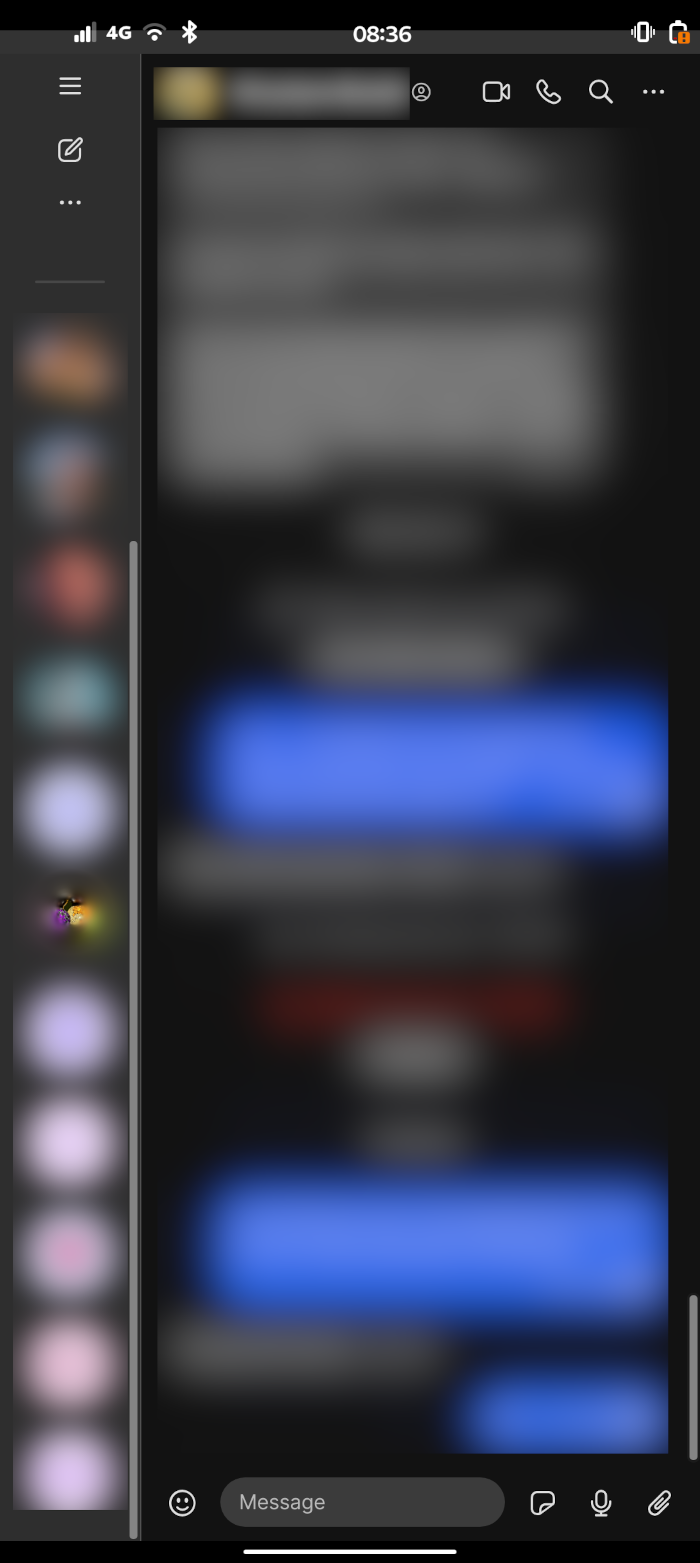
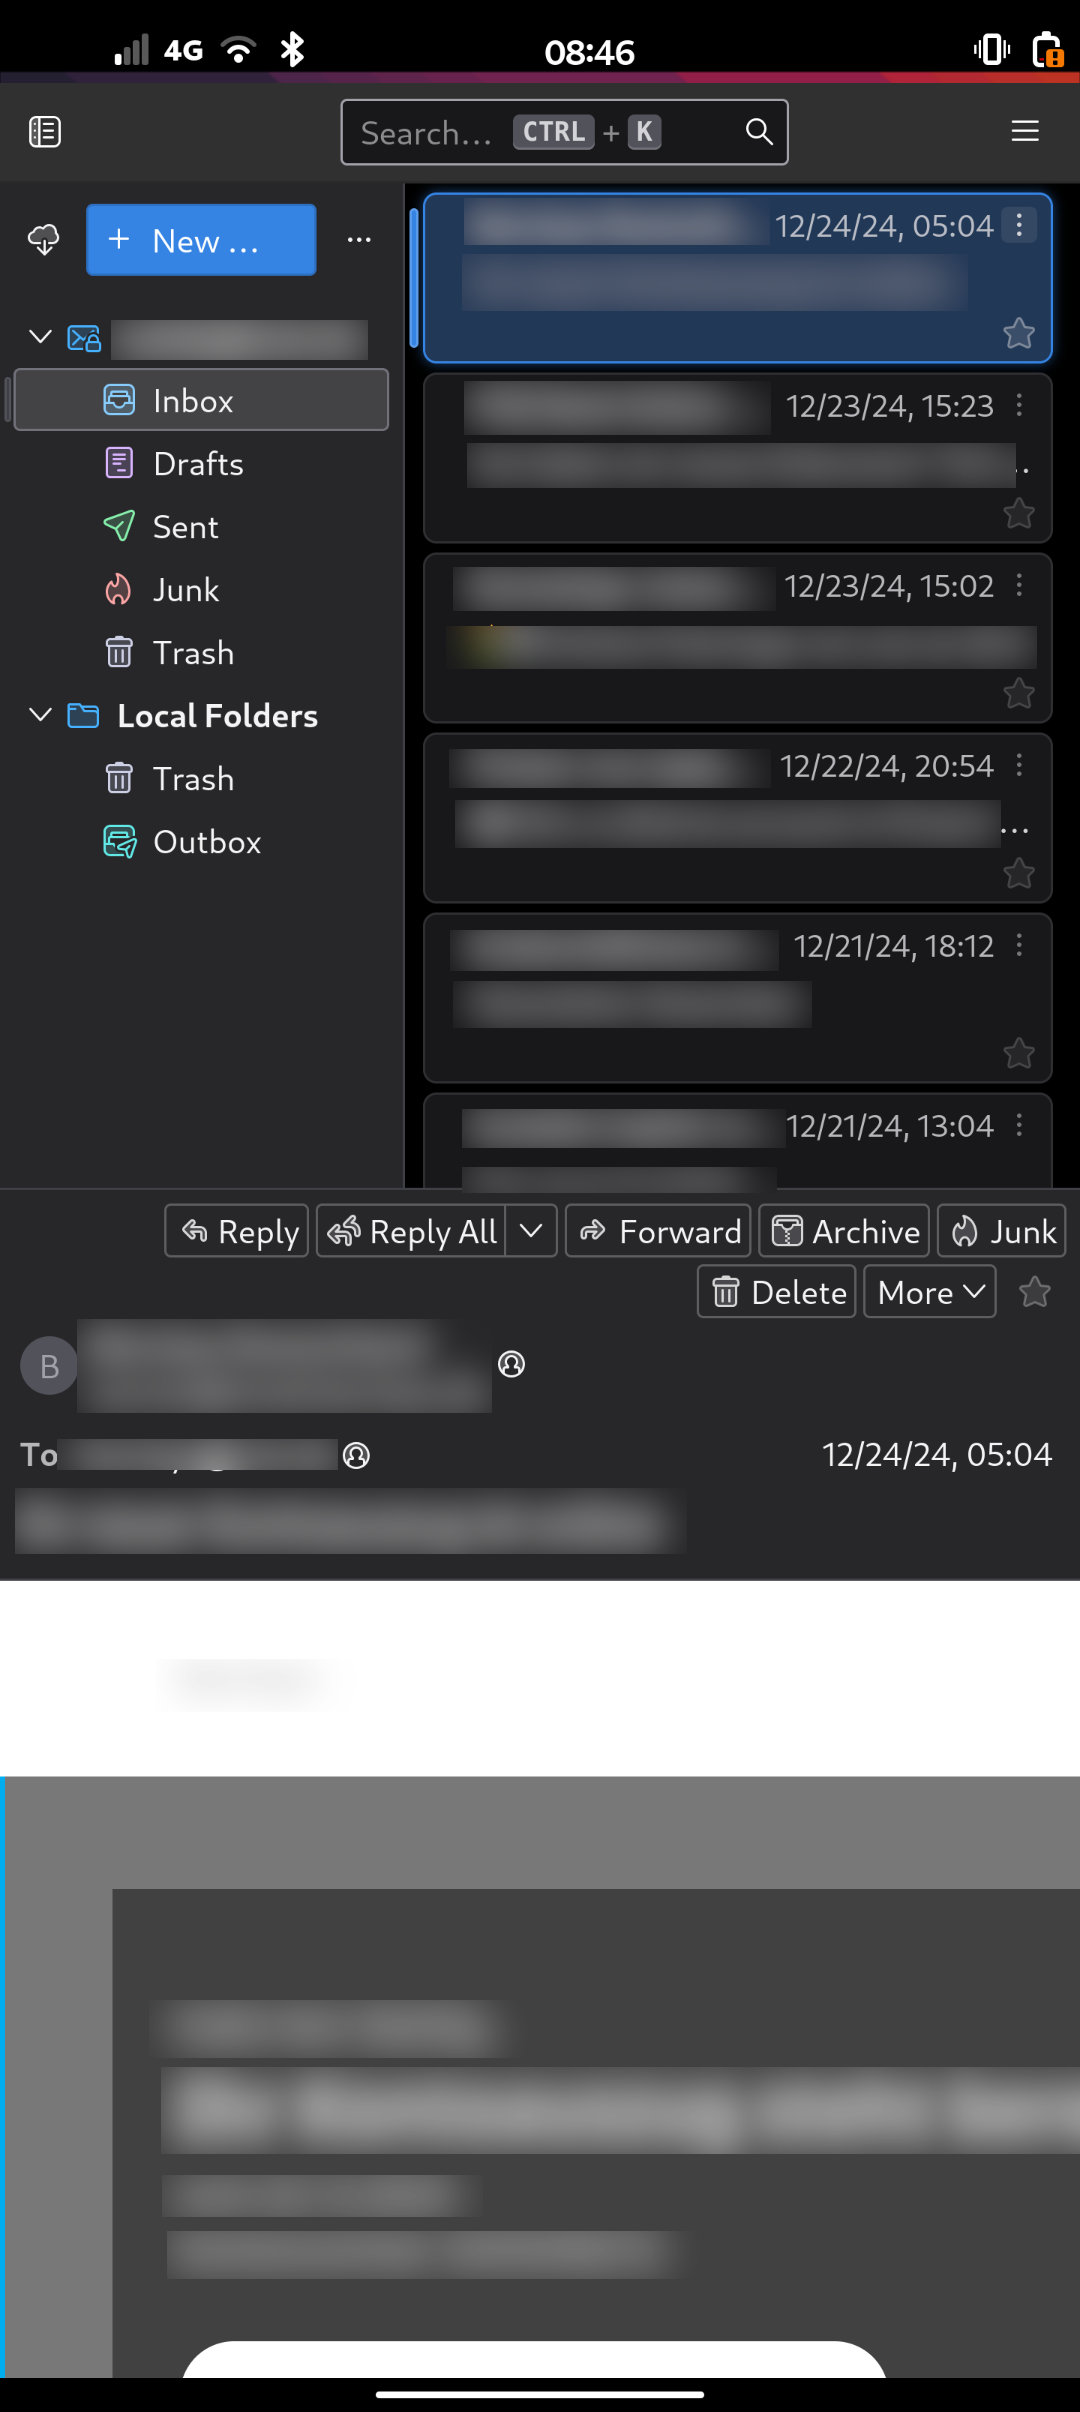
I increase the display to 225% so that the applications can display more content. This is very advantageous when using Signal or Thunderbird, for example.
You can find the setting under
Settings > Display > Scale
Pimp .bashrc with a few shortcuts and new prompt colors
Add the following lines in ~/.bashrc
# Bash aliases
alias ls='ls --color=auto'
alias ll='ls -l --color=auto'
alias l='ls -la --color=auto'
alias ..='cd ..'
alias cls='clear'
alias md='mkdir'
alias rm='rm -i'
alias mv='mv -i'
alias vi='vim'
alias update='sudo apt update && sudo apt dist-upgrade && sudo flatpak update'
alias batcap='cat /sys/class/power_supply/battery/capacity'

# Define prompt and userbased colors
prompt_color="1;34m"
if [ "$USER" == "root" ]; then
  prompt_color="1;31m"
fi
PS1='${debian_chroot:+($debian_chroot)}\[\033['$prompt_color'\]\u\[\033[1;30m\]@\h\[\033[0m\]:\[\033[0m\]\w\[\033[0m\]\$ '
Load the new shortcuts via
. ~/.bashrc
My Applications
Signal (Messenger)
sudo flatpak remote-add –if-not-exists signal-flatpak https://signalflatpak.github.io/signal/signal.flatpakrepo
sudo flatpak install signal
Tipp: To add user files to Signal, you have to allow the Signal app to access the user files. In the “flatseal” application you can grant the permissions So run, if not already installed
sudo flatpak install flatseal
and activate the “All user files” option in the Flatseal app under Signal > Filesystem. or
filesystems=xdg-documents;xdg-desktop;xdg-music;xdg-download;xdg-pictures;xdg-videos;xdg-public-share;
[Context]
shared=network;ipc;
sockets=x11;wayland;pulseaudio;
devices=all;

[Session Bus Policy]
com.canonical.indicator.application=talk
org.freedesktop.portal.Fcitx=talk
org.freedesktop.PowerManagement=talk
org.kde.StatusNotifierWatcher=talk
org.freedesktop.ScreenSaver=talk
org.gnome.Mutter.IdleMonitor=talk
com.canonical.AppMenu.Registrar=talk
org.gnome.SessionManager=talk
org.ayatana.indicator.application=talk

[System Bus Policy]
org.freedesktop.login1=talk

[Environment]
SIGNAL_DISABLE_GPU=0
SIGNAL_USE_TRAY_ICON=0
SIGNAL_USE_WAYLAND=0
XCURSOR_PATH=/run/host/user-share/icons:/run/host/share/icons
SIGNAL_DISABLE_GPU_SANDBOX=0
Restart the Signal app and now you can attach files!
Thunderbird (Email)
sudo apt install thunderbird
You can set the best view by selecting “View->Layout->Wide view” in the Thunderbird menu and disable all Toolbars.
Podcast
sudo flatpak install podcast
Secrets (KeePass)
sudo flatpak install secrets
Goodvibes (Streaming/Radio)
sudo flatpak install goodvibes
You can download my personal FM-Radio list for german senders here: https://www.cais.de/stations.xml or you dowwload it directly in the needed folder with the following command:
wget -O ~/.var/app/io.gitlab.Goodvibes/data/goodvibes/stations.xml https://www.cais.de/stations.xml

